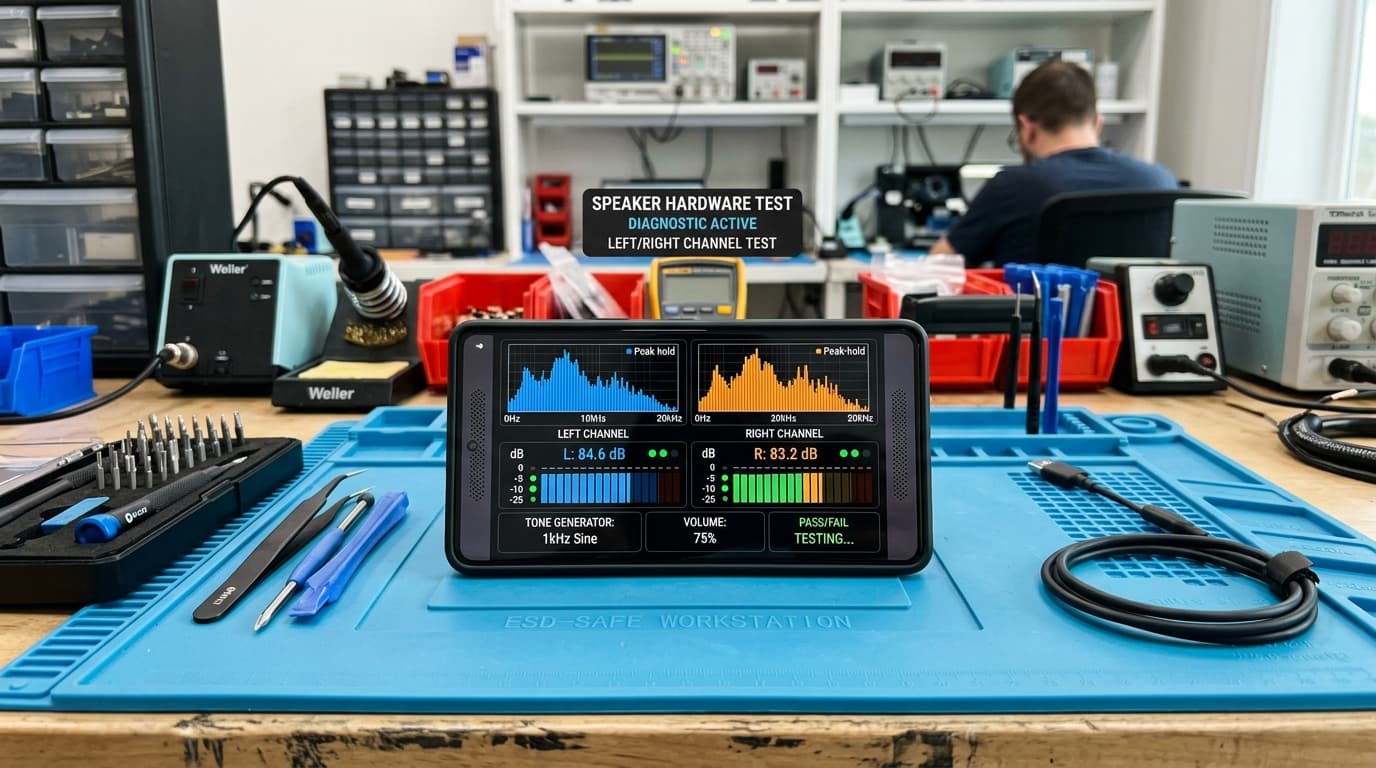
How to Fix My Speaker: Complete Diagnostic Manual
To fix a faulty speaker, first identify if the cause is dust, water, software settings, or hardware failure. Clear blocked grilles with a soft brush and a 165Hz sound ejection tone, unpair lingering Bluetooth connections, update device audio drivers, and inspect output routing before considering component replacement.
Acoustic Speaker Cleaner Studio
CalibratedPulsed resonance frequencies engineered for mobile & laptop acoustic grilles
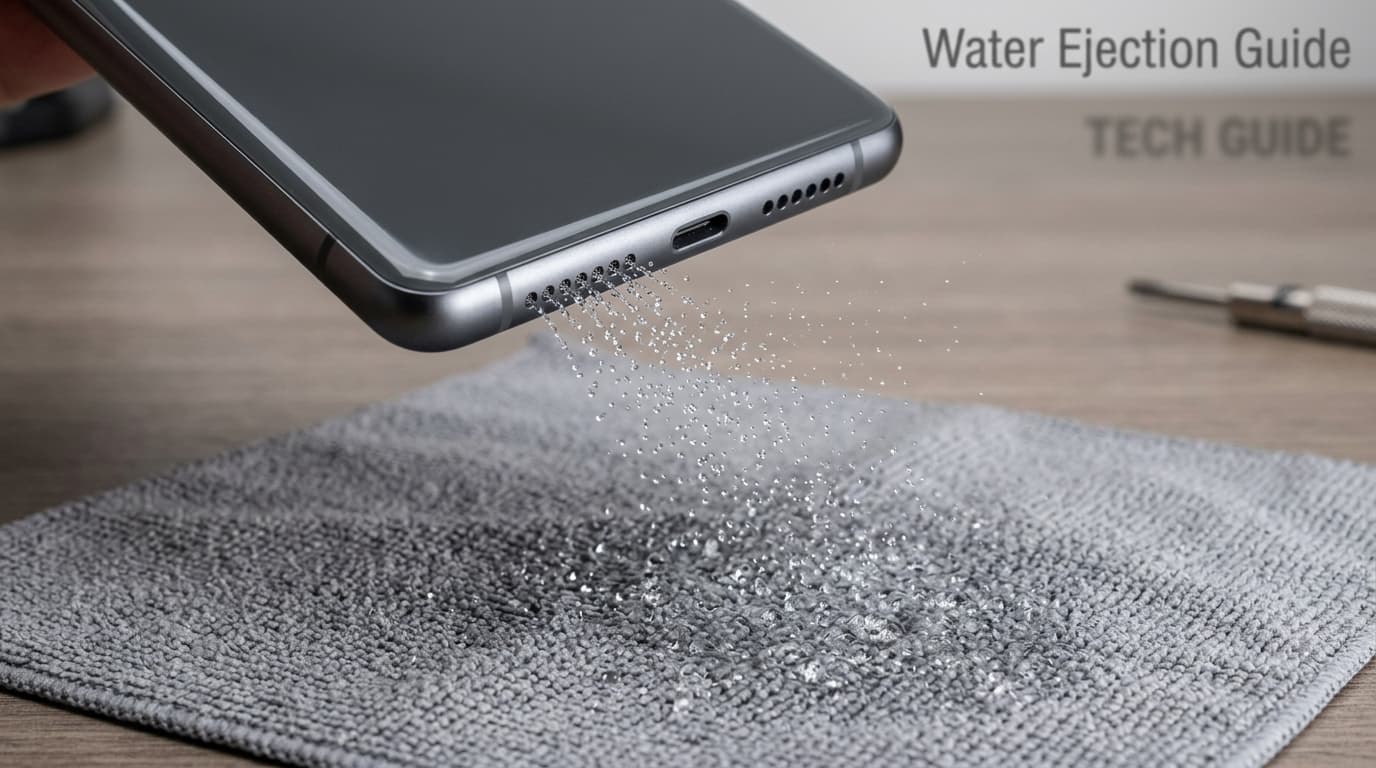
Optimal Technique: Set volume to 80%–90%. Angle speaker grilles 45° downward over a microfiber cloth to allow expelled droplets and dust to escape naturally. Safe acoustic exposure limit: <85dB SPL.
Why This Happens
Step-by-Step Fix
Step 1: Rapid Symptom Triage (Acoustic vs Digital vs Physical)
Begin by isolating whether your issue is acoustic obstruction, an operating system bug, or physical hardware failure. Connect a pair of wired or Bluetooth headphones: if audio plays clearly through earphones but remains completely silent or muffled through the external chassis grille, the digital audio chip is functioning correctly and the fault lies in the speaker transducer or its acoustic mesh. If you experienced liquid contact within the last 24 hours, do not plug in a charger.
Step 2: Disconnect Ghost Bluetooth Links and Reset Audio Daemons
On smartphones, swipe down the Quick Settings panel and toggle Bluetooth completely OFF. Modern devices frequently remain tethered to car stereos, smart TVs, or wireless earbuds stowed inside charging cases in another room. On Windows laptops, open PowerShell as Administrator and execute `net stop audiosrv` followed by `net start audiosrv` to restart the Windows Audio daemon without requiring a full computer reboot.
Step 3: Mechanical Exterior Cleaning (Anti-Static Brush & Air Bulb)
Position the device with its speaker ports facing directly downward at a 45-degree angle. Take a dry, ultra-soft nylon toothbrush or anti-static ESD electronics brush and perform gentle sweeping strokes across the grille openings. Never push bristles perpendicular into the holes. Follow with several gentle blasts from a rubber air squeeze bulb. Never use compressed air canisters, as freezing propellants can rupture the delicate acoustic membrane.
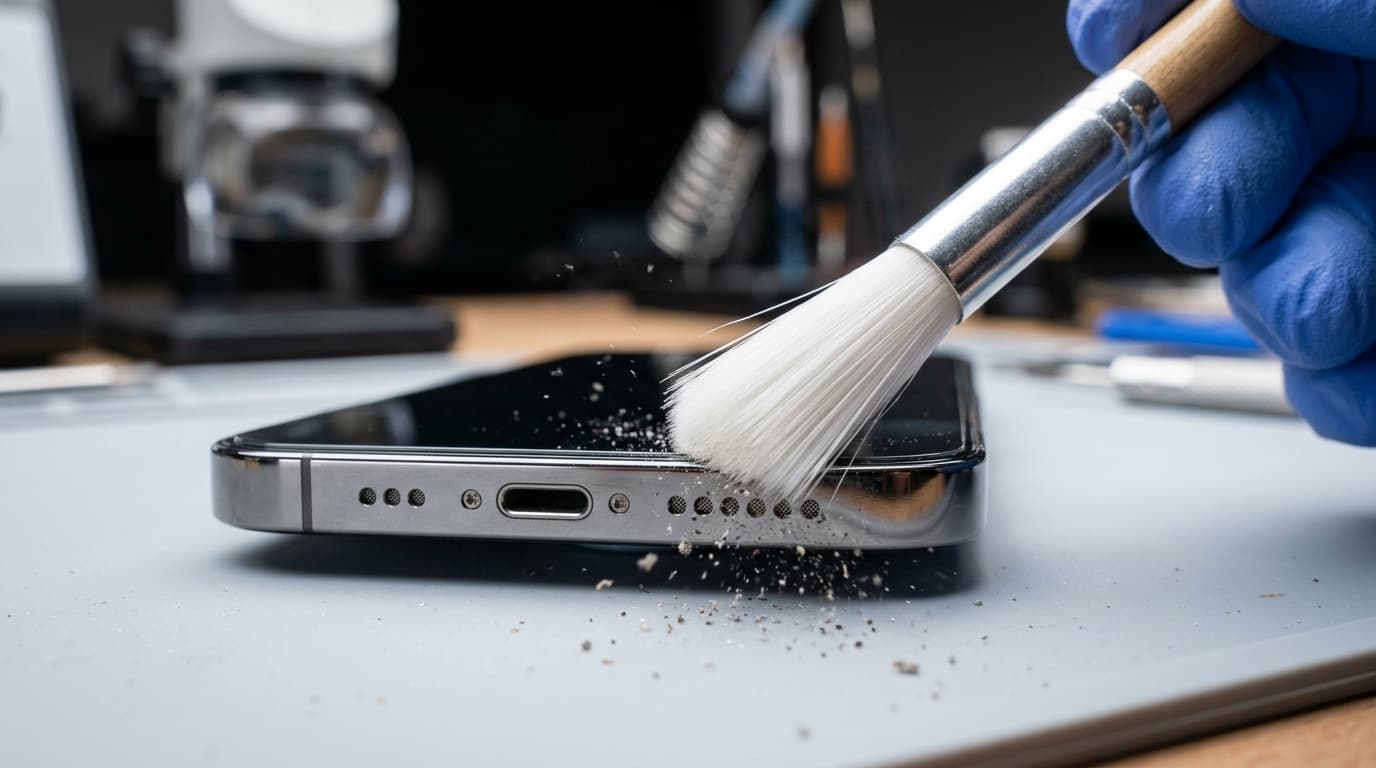
Step 4: Execute Calibrated Acoustic Waveform Ejection (165Hz)
Open our interactive tone generator tool. Play the calibrated 165Hz water ejection tone at 80% to 100% volume for 2 to 3 full cycles of 30 seconds. The 165Hz sine wave creates resonance that maximizes voice coil excursion without thermal fatigue, generating localized air currents that break meniscus surface tension and forcefully push trapped liquid droplets and loose lint outward.
Step 5: Verify OS Audio Levels, Mono Audio, and Accessibility Balance
On Android, navigate to Settings > Sound & Vibration > Volume and ensure Media and Notification sliders are distinct. In Accessibility settings, check Hearing Enhancements to verify the Left/Right audio balance slider is centered at 0. On Windows 11, open Settings > System > Sound > More sound settings, right-click your default Realtek Speakers, select Properties, and disable all audio enhancements under the Enhancements tab.
Step 6: Know What to Avoid (Banned Myths That Destroy Speakers)
Never insert safety pins, sewing needles, or paperclips into speaker holes; doing so instantly punctures the factory water-resistant membrane (IP67/IP68) and pierces the mylar cone. Never use heated hair dryers, as thermal exposure melts acoustic adhesives and warps battery cells. Never submerge the device in uncooked rice; uncooked rice dust mixes with moisture to form a cement-like paste inside the audio chamber. Use silica gel packets in a sealed container instead.
Step 7: Identify Physical Hardware Failure & Component Replacement
If your speaker emits a loud burning scent, persistent robotic buzzing that does not change with volume, or complete silence despite factory resets and dialer diagnostic tests (*#0*# on Samsung, *#*#6484#*#* on Xiaomi), the transducer voice coil or motherboard audio amplifier IC is blown. In this scenario, cease software troubleshooting and visit an authorized OEM service center for genuine acoustic module replacement.